注意:本文原创,转载请注明出处。
1、下载 Nexus
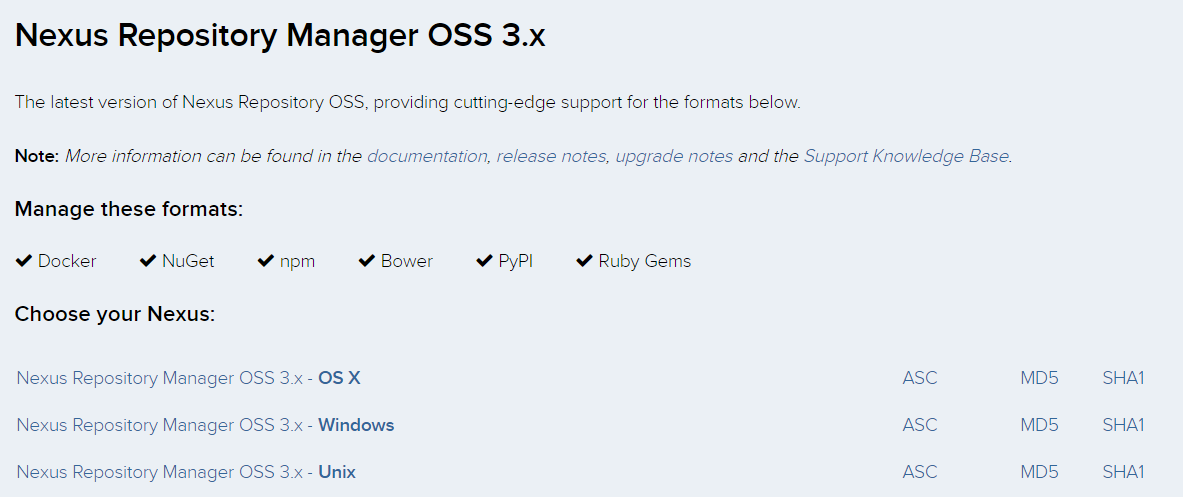
Nexus专业版是收费的,所以这里我们下载开源版本 Nexus OSS,目前最新版本为3.X
下载地址https://www.sonatype.com/download-oss-sonatype
2、 解压缩下载的tar 包
这里我们使用2.14版本
tar -zxvf nexus-2.14.4-03-bundle.tar.gz
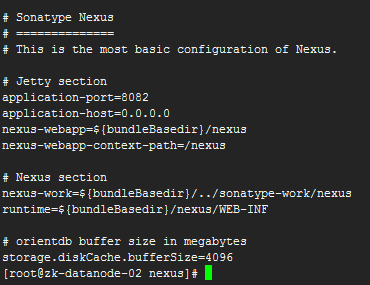
修改nexus-2.14.4-03/conf 目录下的 nexus.properties,修改端口号之类的,默认端口号8081,我这里改为8082
3、启动 Nexus
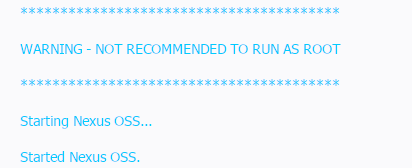
进入nexus-2.14.4-03/bin目录,./nexus start 启动,使用root 用户启动时会报警,nexus不建议使用root 用户启动
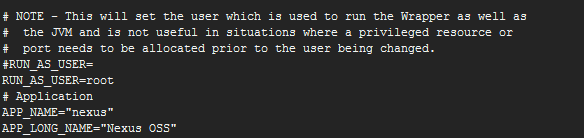
 此时可以修改 nexus 文件 vi bin/nexus,找到如下行 RUN_AS_USER=,修改为RUN_AS_USER=root 即可
4、重启 Nexus
./bin/nexus restart
5、访问 Nexus
访问nexus :http://0.0.0.0:8082/nexus (改成自己的IP)
6、Nexus基本配置
1、Nexus 用户,admin默认密码admin123,deployment默认密码deployment123
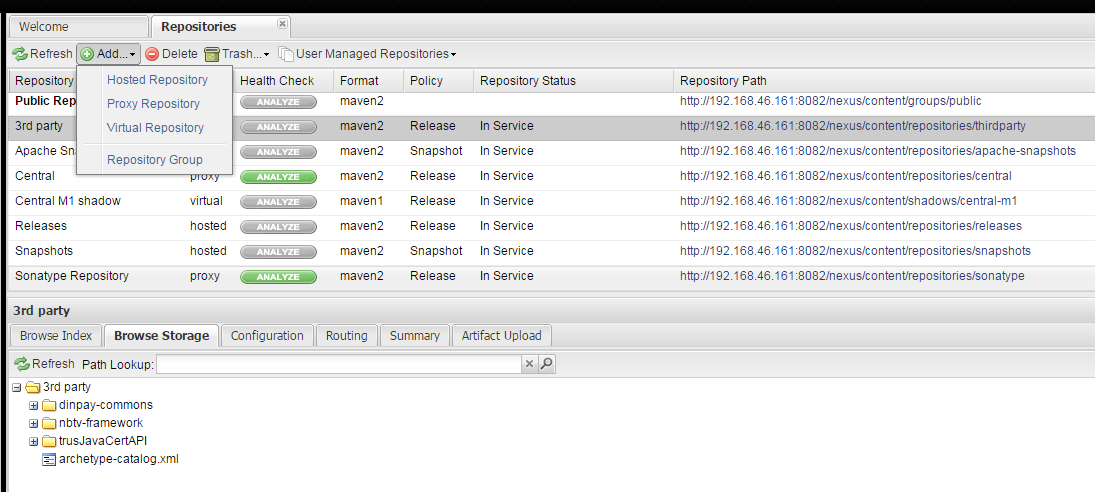
2、添加代理仓库
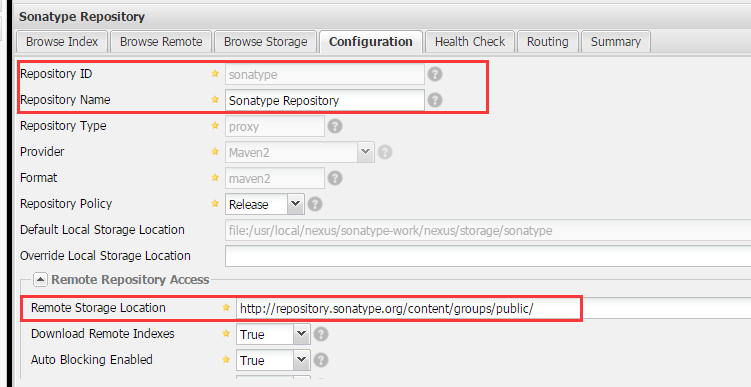
  Repository ID:sonatype
  Repository Name :Sonatype Repository
  Remote Storage Location :http://repository.sonatype.org/content/groups/public/
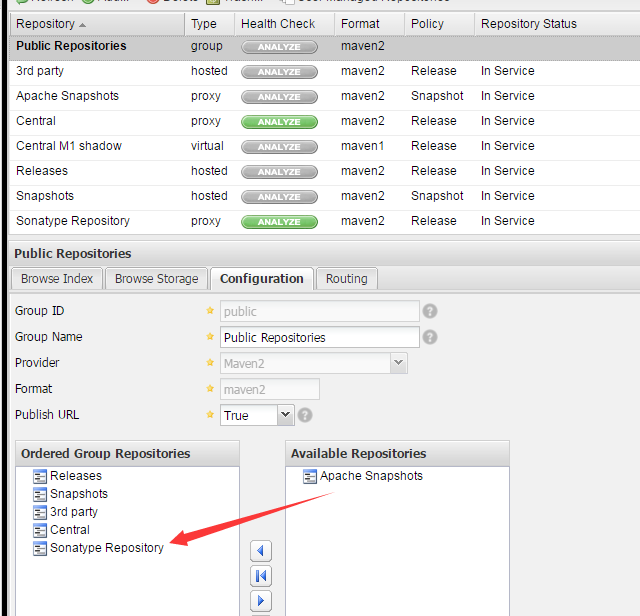
 将添加的sonatype 代理仓库加入到 Public Repositories 仓库组,选中 Public Repositories 点击Configuration ,将 Sonatype Repository 从右侧 Available Repositories 移到左侧 Ordered Group Repositories
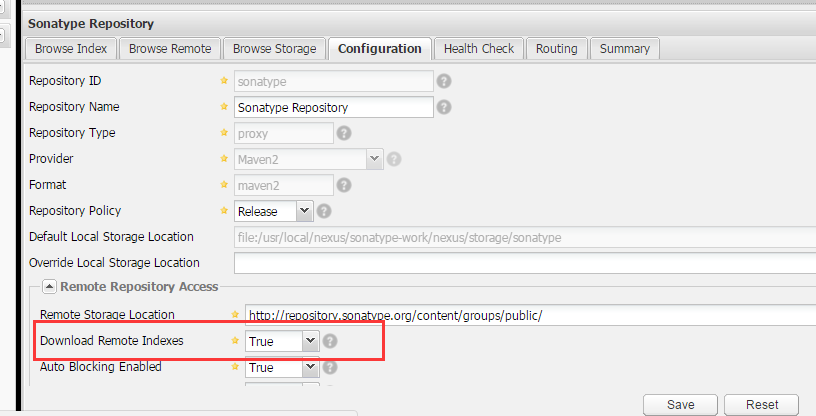
 3、为了更好地使用 nexus 搜索,可以设置所有的 proxy 仓库的 Download Remote Indexes 为 true,即允许下载远程仓库索引
配置好了之后,点击左侧的 Browse Index,可以浏览到已被索引的构件信息,包括坐标、格式、maven依赖的xml代码。
3、为了更好地使用 nexus 搜索,可以设置所有的 proxy 仓库的 Download Remote Indexes 为 true,即允许下载远程仓库索引
配置好了之后,点击左侧的 Browse Index,可以浏览到已被索引的构件信息,包括坐标、格式、maven依赖的xml代码。
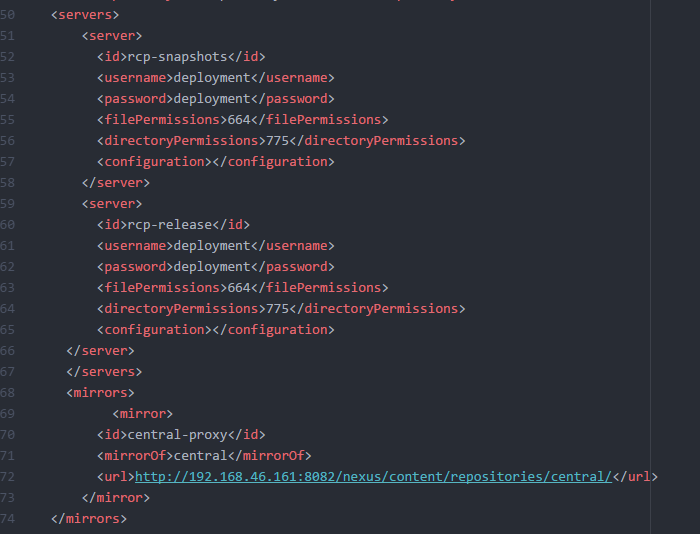
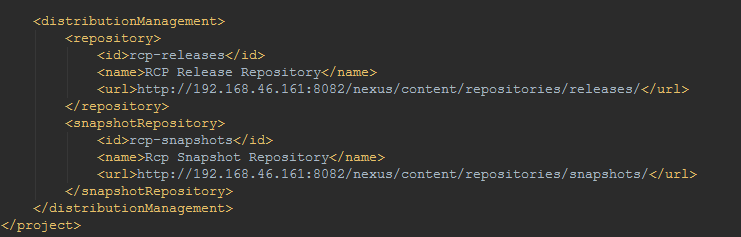
 4、配置本地 maven setting.xml 以及项目 pom.xml